Windows Mail
- Open the Windows Mail app
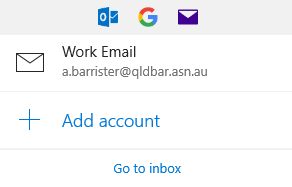
- Click on Accounts on the left, then click on Add account on the right

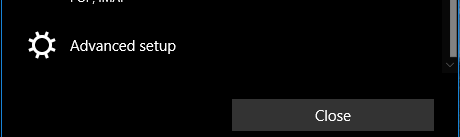
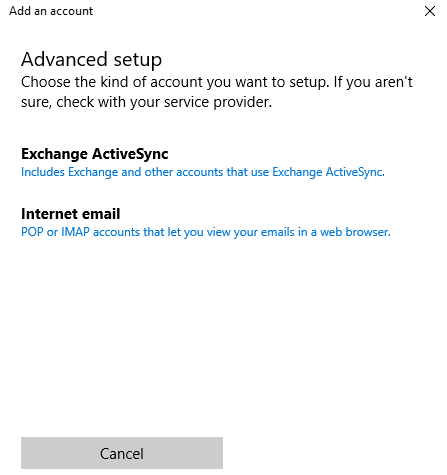
- Scroll down and select Advanced setup
- Select Internet email
- Enter the following details
-
Email Address - your email address
-
Username - your email address
-
Password - your email account password
-
Account Name - this is for your reference (eg. work account)
-
Send your messages using this name - name you want appearing on your send emails
-
Incoming email server - email.barweb.com.au
-
Account Type - POP3
-
Outgoing (SMTP) email server - email.barweb.com.au
-
Outgoing server requires authentication - enabled
-
Use the same username and password for sending emails - enabled
-
Require SSL for incoming emails - enabled
-
Require SSL for going emails - enabled

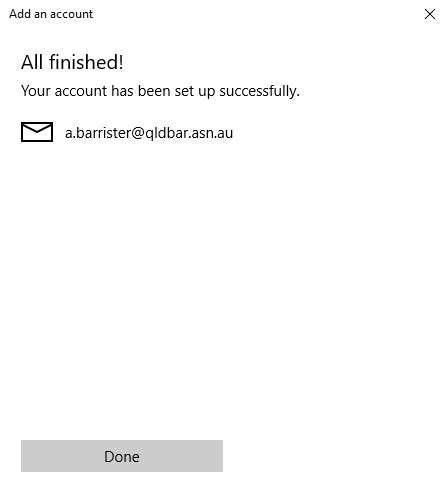
- Click Sign in
- Click Done
- Click on Go to inbox