iPhone/iPad
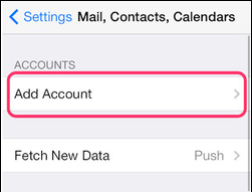
- From the Home Screen, tap Settings > Mail > Accounts
- Under the Accounts section, click Add Account.
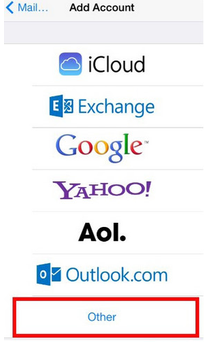
- Click Other
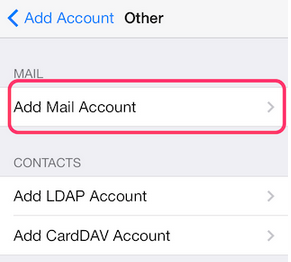
- Click Add Mail Account
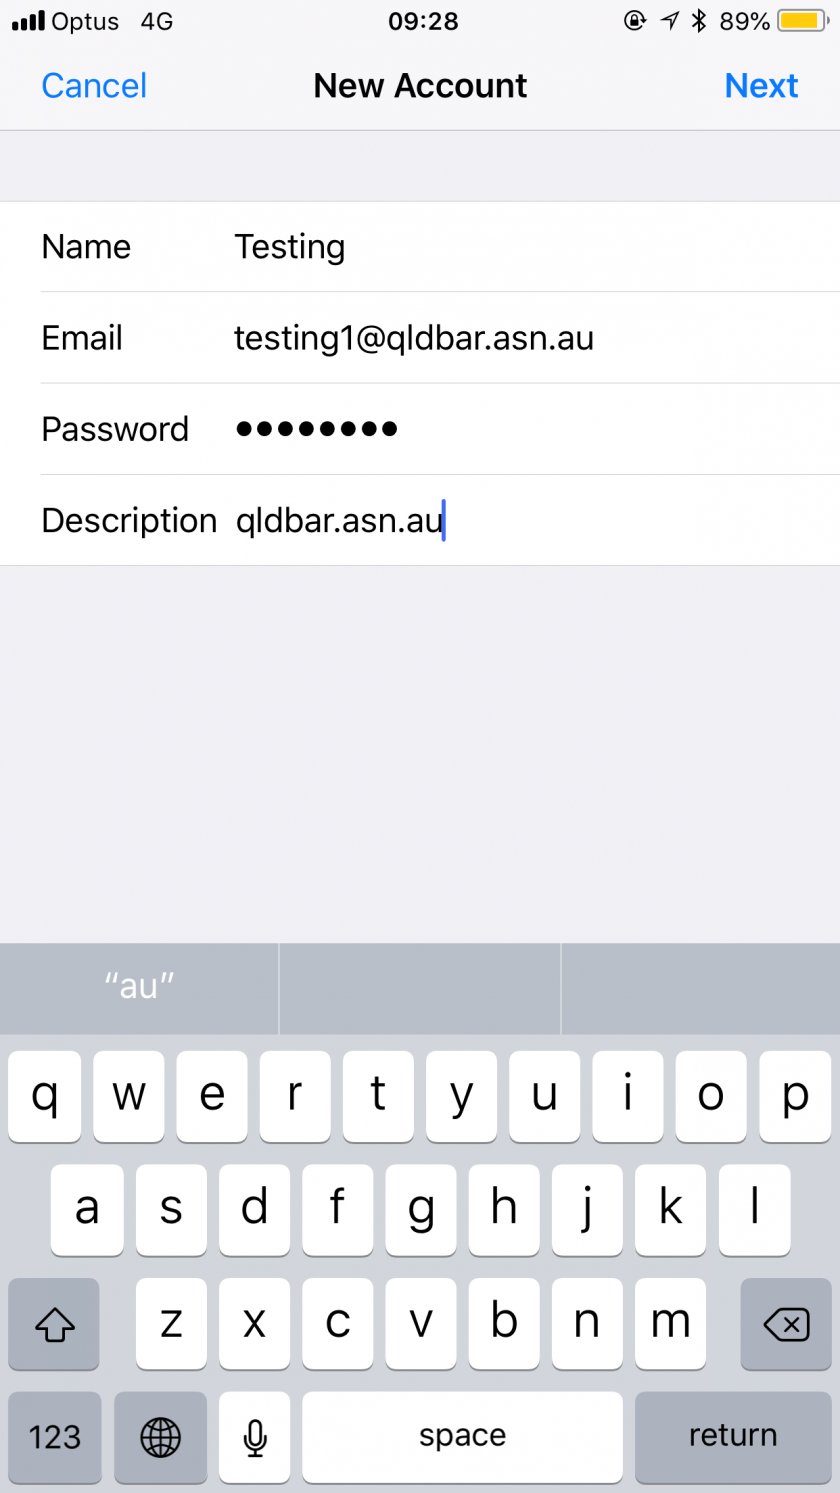
- Enter the following details into the fields that appear:
-
Name: Your name (this is the name that will be attached to outgoing emails)
-
Email: Your email address
-
Password: Your account password
-
Description: Description of the account (Optional)
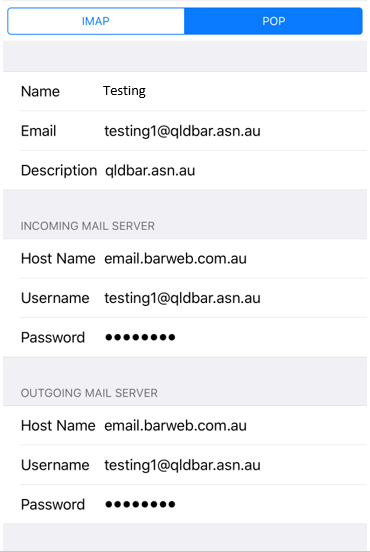
- In the following screen, be sure that "POP" at the top of the page is highlighted and enter the following details into the fields:
-
Name: Your name (this field should already be filled)
-
Email: Your email address (this field should already be filled)
-
Description: Account description (this field should already be filled)
-
Incoming Mail Server:
-
Host Name: email.barweb.com.au
-
User Name: Your full email address
-
Password: Your account password
-
Outgoing Mail Server:
-
Host Name: email.barweb.com.au
-
User Name: Your full email address
-
Password: Your account password
- Click Save. Your iOS device is now configured to use your email address.
