Windows Phone
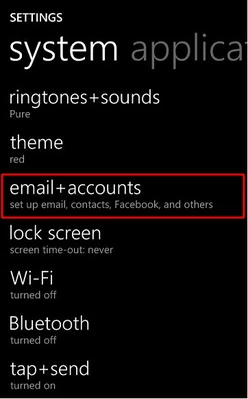
- Open Settings
- Tap Email + Accounts
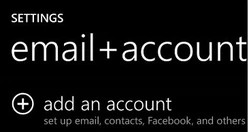
- Tap Add an account.
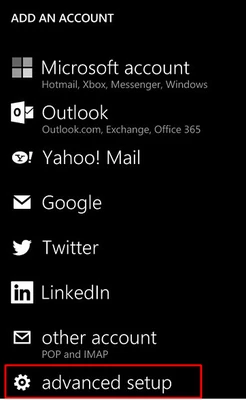
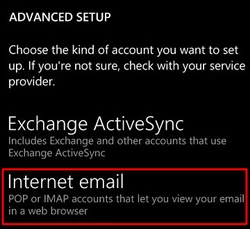
- Tap Advanced Setup.
- Enter your full email address and password and hit Next.
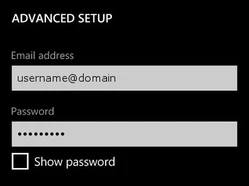
- Select Internet email.
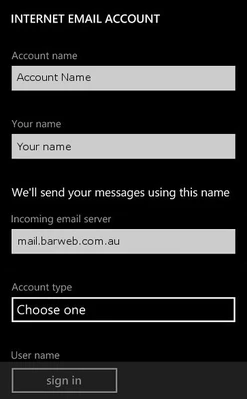
- Fill in the fields with the following details:
- Account name: The name you would like to use to identify the account (for personal use)
- Your name: Your full name (This is the name that will appear with outgoing emails)
- Incoming email server: mail.barweb.com.au
- Account type: POP3
- Keep scrolling down and fill in the fields with the following details:
- User name: Your full email address
- Password: Your account password
- Outgoing (SMTP) email server: mail.barweb.com.au
- Outgoing server requires authentication: Tick
- Use the same user name and password for sending email: Tick
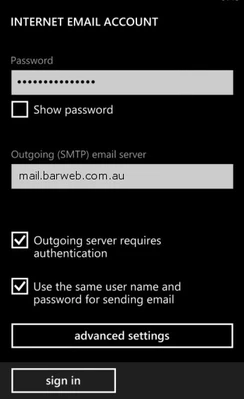
- Click Sign in. Your Windows Phone is now configured to use your email address.
