Setting a Static IP - Windows 10
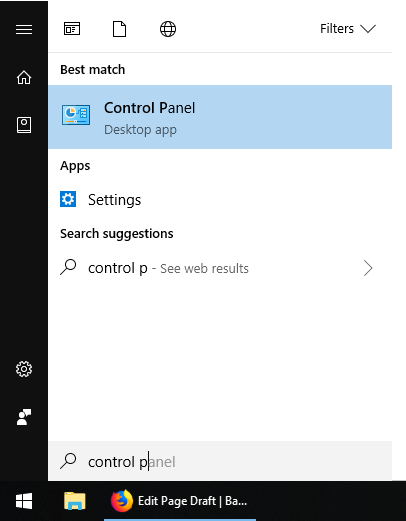
- Click on Start and type in "Control Panel"
- Click on Network and Internet
(If Control Panel is set to icon view, go to Step 3)
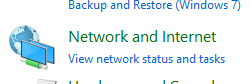
- Click on Network and Sharing Centre

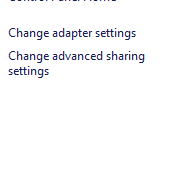
- Click on Change Adapter Settings (Located on the left menu)
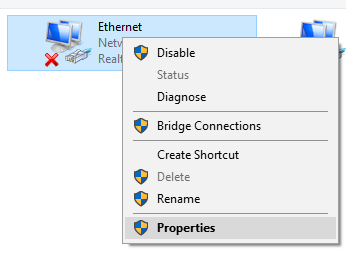
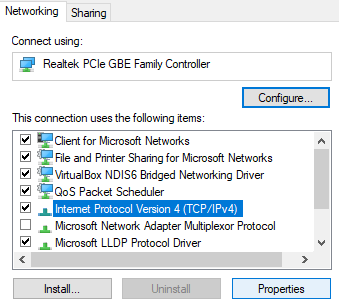
- Right click on the Ethernet adapter and select properties
- Click on Internet Protocol version 4 so it is highlighted then click the properties button
- Click the bubble next to Use the following IP
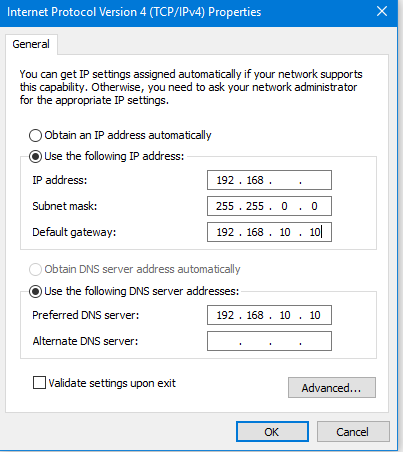
- Enter the details provided by BarWeb Support staff and click OK
